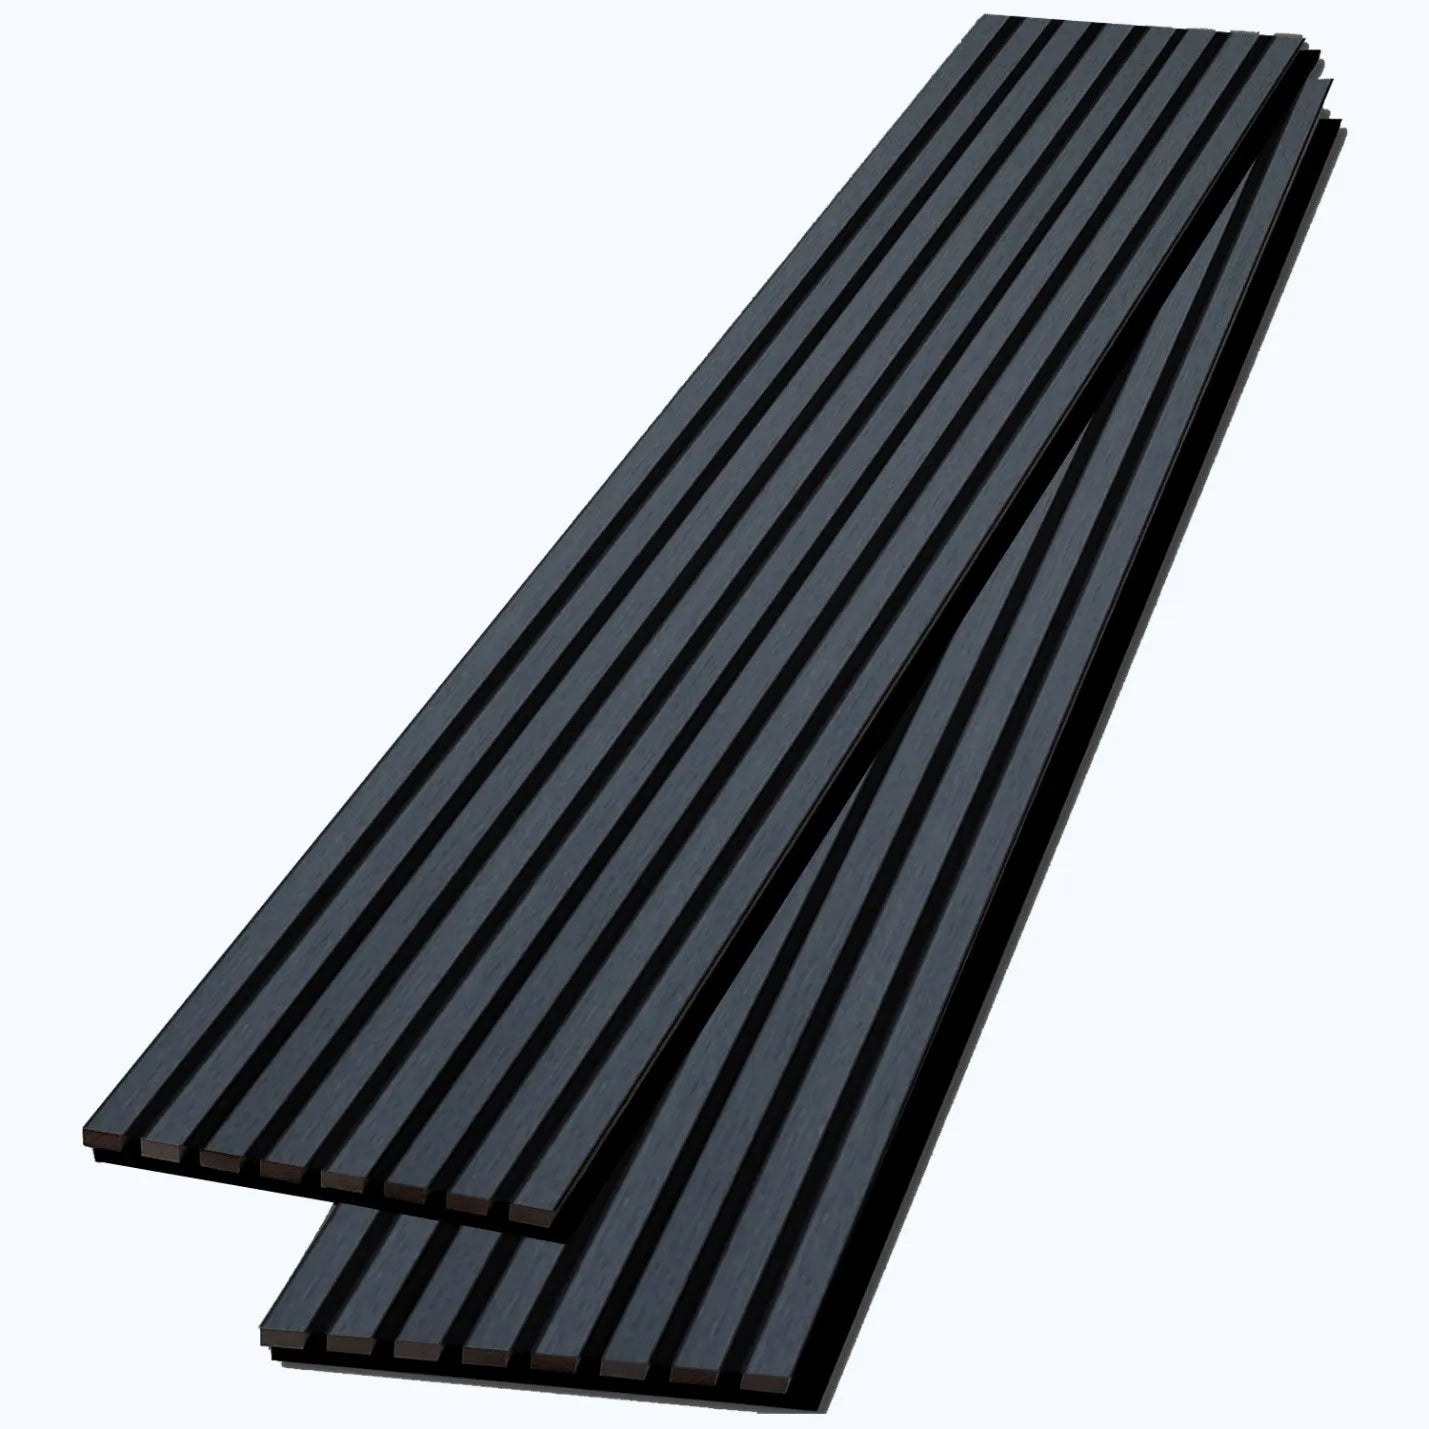
ACOUSTIC PANEL STANDARD
Acoustic Panel Standard is a premium acoustic slat panel designed to enhance both the appearance and comfort of your space. Featuring wood veneer–covered slats mounted on a sound-absorbing felt backing, it combines natural warmth with effective acoustic performance.
The result is a modern wall solution that adds texture, depth, and improved sound quality to any interior.
COLORS*
WHITE OAK, YELLOW OAK, WALNUT, SMOKED OAK, GRAY, CHARCOAL
*Wood veneer is a natural product; color and grain may vary between panels.
DIMENSIONS*
-
2 Panels: 47" x 25" x 0.75" each (White Oak, Walnut only)
-
1 Panel: 96" x 25" x 0.75" (All colors)
-
2 Panels: 118" x 25" x 0.75" each (White Oak, Walnut only)
-
2 Panels: 141.5" x 25" x 0.75" each (White Oak, Walnut only)
*Dimensions are approximate. Minor variations between panels may occur.
PRODUCT DETAILS
Product Type
Acoustic slat wall panel
Material
MDF core with real wood veneer slats mounted on acoustic felt backing
Finish
Natural wood veneer
Application
Interior walls and ceilings
Acoustic Performance
Designed to reduce echo and improve sound comfort within a space
Installation
Panels can be installed using heavy-duty construction adhesive or screws.
For best results, screw or brad nail through the acoustic felt into the wall.
ADDITIONAL INFORMATION
-
Technical sheet available upon request
Email: support@dekopanels.com
-
Local pick-up available
Need shipping or delivery? Contact us to calculate fees at support@dekopanels.com
-
Samples available upon request
email: support@dekopanels.com
-
Professional installation available
Contact us for details.
HOW TO INSTALL
Step 1 – Measure the Wall
Measure the height and width of your wall to determine panel quantity and any required cuts.
Step 2 – Mark Cutting Lines
Use a straight edge and pencil to mark cuts. Apply tape along the line to protect the veneer.
Step 3 – Cut the Panel
Cut using a fine-tooth saw for a clean edge.
Step 4 – Smooth the Edges
Lightly sand edges for a clean finish and proper fit.
Step 5 – Position the Panel
Place the panel and ensure it is level and aligned.
Step 6 – Secure the Panel
Install using adhesive or screws.
Recommended: Screw or brad nail through felt into the wall.
Step 7 – Repeat
Continue installation, aligning slats carefully for a seamless look.
INSTALLATION TIPS
- Install on a clean, dry, and flat surface
- Use a level for proper alignment
- For ceilings, screw panels directly into joists
- For enhanced acoustic performance, install over wooden battens